The rise of 360-degree photography has brought about an astonishing phase of innovation in the world of imaging and photography. It is a new, distinct and thrilling way to let your viewers explore your photographs. This work used to be tough to capture and post-process just about three or four years ago. However, with advanced imaging solutions and many units provide post-production image processing services, it is no longer difficult to create some virtual experiences for your clients. But just how do you go about creating 360 images for your latest listing?
In this article, we are going to walk you through some handy tips on how to start shooting 360-degree photographs.
1. Staging
In real estate photography, we are all about being efficient and effective when shooting the property. This is why preparing the house prior to the shoot is so important.
As a general rule, it’s a good idea to remove any unnecessary items from your shots including bulky items and kids’ toys, etc. While you’re at it, open up the shower curtains, doors and window dressings to enhance the sense of space along with turning on any lights, straightening any cushions and furniture or even racking up the pool table for that polished look.
2. Camera Positioning
A 360-degree camera would typically use two fisheye lenses and software to auto-stitch two images together. Fisheye lenses are generally ultra-wide-angle in nature, so they tend to “push the subject to a distance”. It, therefore, becomes important to ensure that subjects of interest are in the foreground and not far away from the camera.
As a general rule-of-thumb put the camera in the center of the room. This way, it will appear to the user that they are standing in the middle of the room. You might not want to do this if say a large table is in the center of the room or some other obstruction. Also, the camera should be placed with navigation in mind.
Set the height of the tripod so the camera is about eye level for the average person (about 5′ 4″). Make sure the camera is facing the front or back of the house squarely. This means it is not off to angle.
3. Positions
How many positions should you have? That is completely up to you. Would placing the user at that location enhance the user’s experience? Is there something interesting to see from that perspective? And most importantly, would that location be ideal for navigation? For example, if there is a long hallway with several rooms, it would be a good idea to place the camera in front of each room in the hallway, so the user can navigate down the hallway and when in front of a room, choose to navigate in the room or not.
Note that sometimes the camera is not in the center of the room, but positioned with navigation in mind. This will make more sense when you look at the next image with the navigation arrows included.
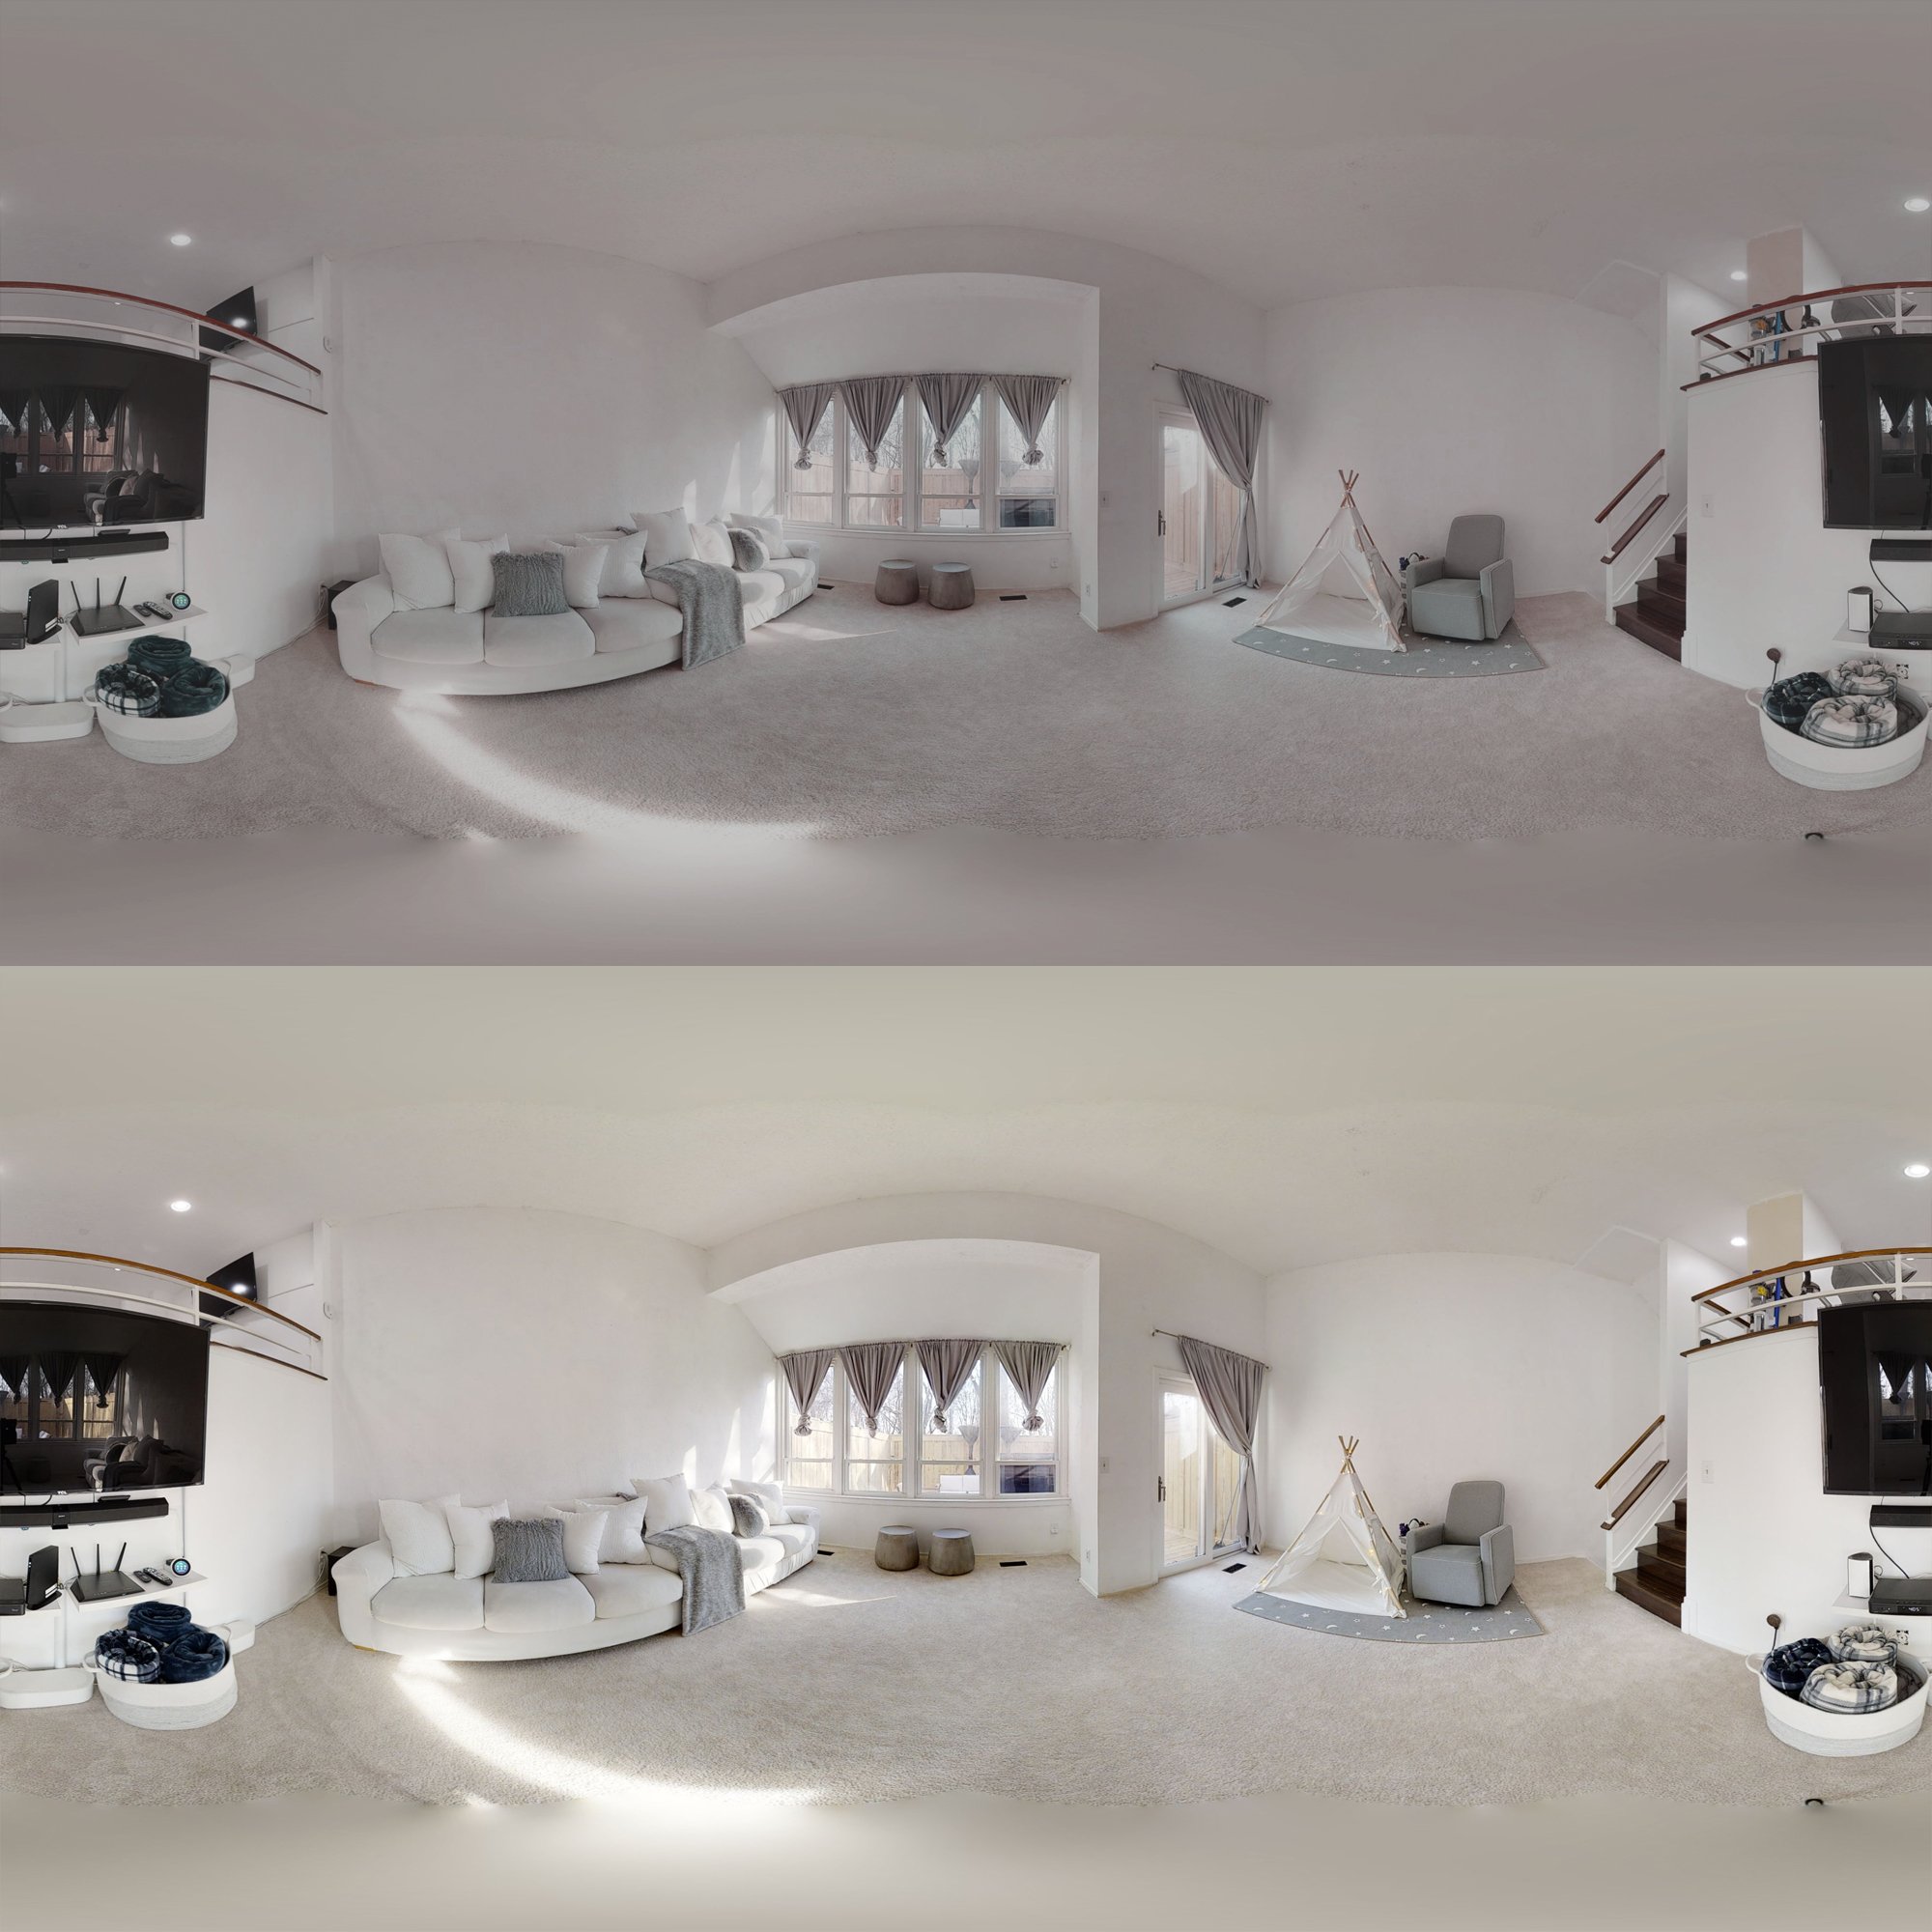
4. Photo editing and processing
While not essential, we strongly recommend you have all your images edited. After all, you’ve gone to all the effort of shooting the property, the last thing you want to happen is for the pictures to feel uninspiring and attractive to the clients.
To have your images professionally edited, simply go to home3ds.com. Within 24 hours, our team of professional editors will finish your 360 images enhancement. It’s as easy as that!